RSS

Tuesday, September 27, 2011

I like this christmas stamp

Hello and thank you for stopping by. Another day a new Christmascard I want to share with you.
For this card I used a hunter green cardstock as base and put on it some golden sparkly paper and some very nice red-christmas patternpaper on top. The image is one of my new favorite chritmasstamps I own. Its from a german company called HEINDESIGN. I just love that stamp and think it freaking cute :) I colored the image with waterbased crayons and my watertank pen. I colored the edges of the image with my stamppad in a bordeau red. To give the image some extra spot I used my liquid pearls in dark red and put it on the small reindeers nose. I layered the image on the same papers I used for the base and the other parts of the card as well.IOnce again I used for this card some of the golden holly stickers I have. I made a border with 2 of them on the left side of the card and a small one in the right left corner. To finish the card I attached 3 dark green brads.
I hope everyone will have a great week.
I hope you like the card and HAPPY CRAFTING :)

Monday, September 26, 2011

The advantage and disatvantage of a cold

Hello and Thank you for stopping by!!! Due to the fact that I caught a cold and have to stay home to recover it now...that was the disadvantage of my cold ( and that I can´t craft while I am sick ). The advantage is that I finally have the time to blog a bit more.Some of the cards I want to share with you this week will be christmascards I made before I got sick.

The first card I want to share with you is a very simple and elegant card. For the base I used a bordeau cardstock and put on it some holly-patternpaper that I cut into three pieces and let little gaps between them on the cardstock.On the little stars on the pattern paper I made little liquid pearls in the middle of each star.On the edges between the pieces I put stickerlines to give it an elegant golden touch. The golden tree was cut out from a sheet with ornaments I got years ago from a crafting colleague. I layered in on some white and red cardstock. For the finish I put two little golden hollystickers on it and finished everything with 3 golden brads on the bottom part.
Tell me what you think?
I hope everyone will have a great week.
I hope you like the card and HAPPY CRAFTING :)

Maria :)

Friday, September 23, 2011

A thousands sheets giveaway-chance

Hello and thank you for stopping by. I found the exciting news on the Blog of my friend Petra today.
Amy over at A thousand Sheets of Paper is giving away A thousand sheets of paper! Head on over to her blog via clicking on the name of Amy´s Blog above and via the photo below so you can follow the directions for entering your own chance to win part of a thousand sheets of paper! wow, what a great chance, even if you don´t have your own Blog!!

Monday, September 12, 2011

I am so very sorry!!!

Hello and Thank you for stopping by!!! I am very sorry for haven´t blogged in over a month. My new job kept me very busy and so I didn´t had much time to show you cards I created in the meantime on this blog. PLEASE forgive me!!! I will try to better myself and blog more, but I can´t promise to do it reguarly, but I will try my best.
As appology I will show you some cards I made during the past months with my new StampinUP Owl-punch that I got for my birthday this year.
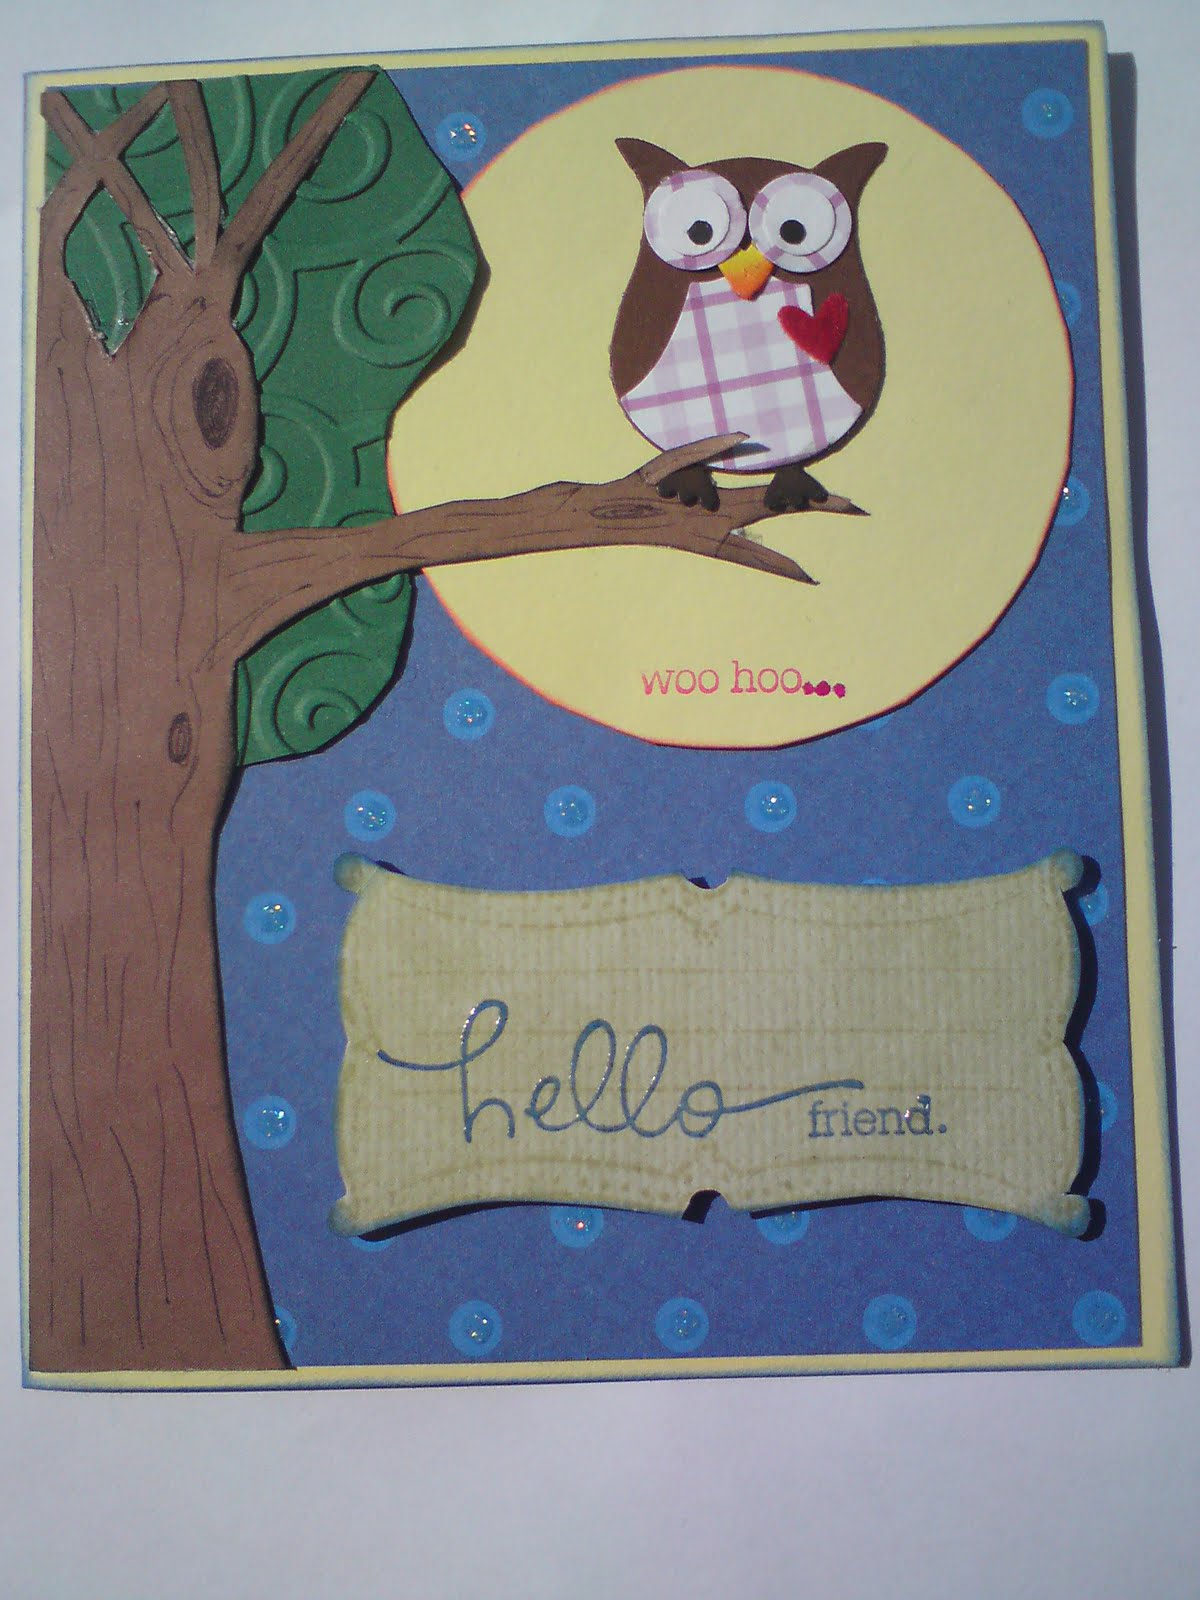
First here are some cards I did with owls on it :)


And on this card for my great friend Anne-Marie ( she makes fabulous cards , make sure to check out her blog here) I made a small pinguin for her and made the card in a winter-theme as she LOVES snow ( I really don´t ;) ha )


Next are cards I used the Owl-punch, to make small tulips with it. You can find the tutorial how to make them on Valitas blog.


And finally I want to show you a card I just made this evening. As I showed you in a post a few months ago , you can also use the punch to create really cool roses. I finally took the time to make a card with (sorry Anne-Marie that its purple). I think it turned out pretty good, but let me know what you think about it, please.

Don´t hestitate to comment and let me know what you think about the cards I made with the owl-punch.
I hope everyone will have a great week.
I hope you like the cards and HAPPY CRAFTING :)

Maria :)

Sunday, August 7, 2011

I like my cardset part 7

Hello and thank you for stopping by!!! I hope everyone is having a good saturday so far. The card I want to show you today was also for the cardset I made. This time its another get well soon card. I embossed the right border of the card with a embossing-border from Cuttlebug-set "with love". I used the same folder for the borders over and under the sentiment and colored them with blue ink and blue chalk. In the mid of the flowers I put rhinestones to give it a bling. Fot the background on the left side i used some embossed patternpaper i once got from a friend for easter :) I think it matches the flower theme of the card. As last piece I added some deep blue ribbon on the bottom part of the card and tied it into a knot and some small punched butterflies to the flowerstems on the right side.
Tell me what you think?
I hope everyone is having a wonderful week
I hope you like the card and HAPPY CRAFTING :)

Maria :)

Thursday, July 28, 2011

I like roses

Hello and thank you for stopping by!!! Today I want to share some other flowers with you that I made after the tutorial of Valita. This Lady has so very many awesome ideas, you should defiently check it out here. I made these roses with my StampinUp owl-punch and I love how they turned out.
I put the white-rosé one on a barette and so you can wear it as accesoir in you hair :)

I also sent one of these on a box to a friend in Australia.

I think they would also look great on a card, will have to try that out soon.
Tell me what you think :)
I hope everyone will have a great week
Happy Crafting!!!!!
Maria :)

Wednesday, July 20, 2011

I like lilies :)

Hello and thank you for Stopping by!!! Today I want to take a break from showing you cards from my cardset and show you something different. Somewhile ago my friend Cindy showed me the Blog of a super talented Australian Lady named Valita. She showed a way to make beautiful paperlilies that are very 3D and I had to try this out :)
After I made my first Lily
I showed it to a friend and she told me that they are looking like little barettes....and BANG....An Idea was born to make smalller versions of these lilies and to glue them on small barettes from the store.
I made a whole bunch of them and colored them in different colors and sent them out to different parts of the USA and there are some actually on the way to Australia.

I also used them to give them as guest-gift to the friends that came to my B-day-Lunch. Yes, every year at my B-Day-Lunch not only I get presents but my guests get small ones too :)
But these flowers aren´t only wonderful for the hair they also look awesome on cards. I made these two cards for friends that had live in the USA and had their Birthdays a few months ago :)

I think they turned out pretty good, what do you think?
I hope you like the lilies as much as I do :)
I hope you are all having a wonderful week
Happy Crafting
Maria :)

Saturday, July 16, 2011

I like my cardset part 6

Hello and thank you for stopping by!!! I hope everyone is having a good saturday so far. The card I want to show you today was also for the cardset I made. This time its an international Birthday card in red. The stamp is from the Birthday set from VivaDecor.I stamped it with red ink on a white paper I colored with red chalk.On the bottom of the card I used a border from the cuttlebug with love embossing folder set. I glued red rhinestones on the middle of the flowers and also put some on the upper corners and on both ends of the red ribbon I tied with a knot.Feel free to comment and to tell me what you think?
I hope everyone is having a wonderful weekend
I hope you like the card and HAPPY CRAFTING :)

Maria :)

Friday, July 15, 2011

I like my cardset part 5

Hello and thank you for stopping by!!! A new day and another card of the cardset I made, that I want to show you. Today´s card is a very simple wedding card. The only technique I used on this card was embossing with my cuttlebug. I used golden vellum paper for the background and embossed it with the textile cuttlebug folder. I diecut out te ornament in the middle and embossed it with one of the wedding mini folders. The last piece is the creme colored stripe I embossed with the with love border folder. I used border line stickers to frame the embossed background.I hope everyone will have a wonderful weekend.
I hope you like the card and HAPPY CRAFTING :)

Maria :)

Thursday, July 14, 2011

I like my cardset part 4

Hello and thank you for stopping by!!! Today I want to show you another card of the cardset I made.This one is a very cute Birthdaycard in orange. I used a 3D-Image from a 3D-Special Toread book from Studio Light.the image is layered on a piece of orange cardstock and popped up on foam pads.I love this little toread elves :) I stamped the background with my Embossing stamp pad and let it dry a little before i colored it with my orange chalk. I love the effect this technique gives to the card. As last step I added the vertical birthday-sticker and VOILA!!
Tell me what you think?
I hope everyone is having a wonderful week
I hope you like the card and HAPPY CRAFTING :)
Maria :)